Ultrasonic Insect Repellent
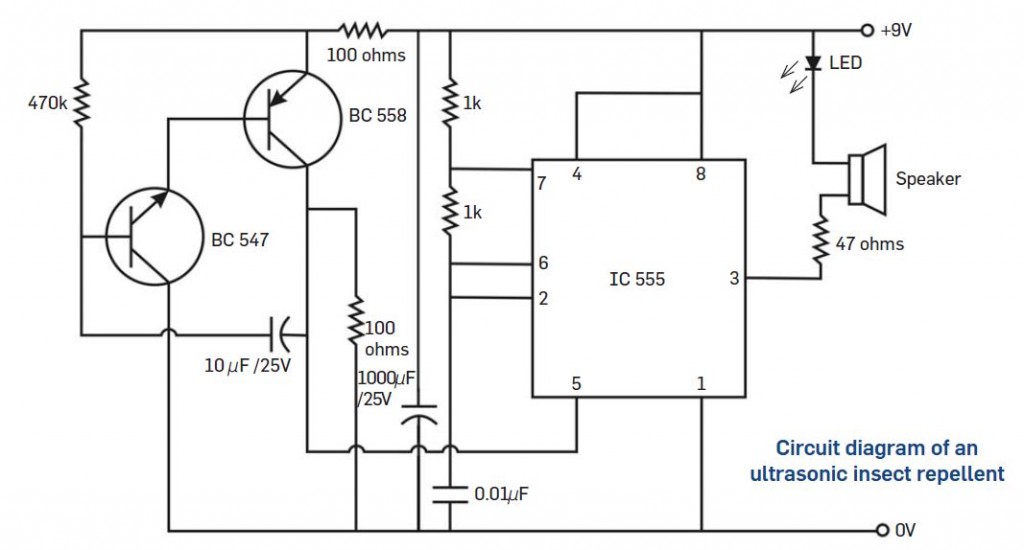
| Things you will need• IC 555 – 1 no.• Resistors- R1 – 470k- R2 – 100 ohms
– R3 – 100 ohms – R4, R5 – 1k – R6 – 47 ohms • Capacitors – C1 – 10 μF / 25V (Electrolytic) – C2 – 1000 μF / 25V (Electronic) – C3 – 0.01 μF (Ceramic) • Battery – 9V and battery snap (1 no.) • LED – 1 no. • Speaker – 1 no. • Connecting wire, General purpose PCB, wire stripper and cutter • Soldering iron and alloy |
Insect repellents have been existing since time immemorial. Be it in the form of pungent herbs or potions, modern society tends to use products such as mats, lotions and even 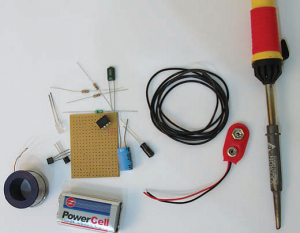 racquets. But then with so many products available, why are so many people still dying? May be we need to use all possible measures. No technology can save you from laziness of not following hygienic guidelines. You need to get rid of stagnating water, puddles and accumulation in your surroundings. Do not leave waste food items, especially moist ones uncovered. These are banquets for pests. They will thank you with disease. Forget malaria and dengue, blessings such as gastroenteritis and nausea could be some symptoms you could avoid by simply taking precautions. We’re with you in this fight against disease. In our small way, we found this ultrasonic pest repellant. We thought it would really help you stay healthy. It’s an electron
 ic circuit that generates a constant ultrasonic signal that research believes irritates pests and insects and hopefully mosquitoes too! As experience shows, there’s always a difference in theory and practice. Try this project and let us know if there is a reduction in the pests in your vicinity. While there may not be as much of an effect on mosquitoes, there should be a significant difference with rodents and larger creatures. We tried it near a dog.
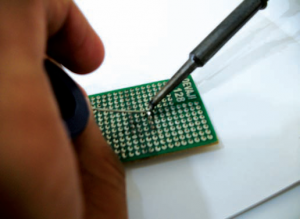
Although it did run away, we’re still trying to figure out whether it was because of the circuit or it seeing some alien device being brought towards it! First, gather your components together. Clean the surfaces to get rid of oxidized surfaces. Clean the leads using a blade. Insert the IC, especially if you are using a small piece of board as we did. This way you get to know the approximate area you would need. Use an IC base in case you are not used to soldering so that you don’t damage the IC.
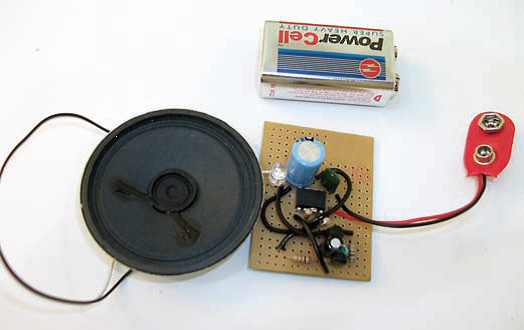
Next insert the resistors in to the PCB according to the circuit diagram. Lastly insert the capacitors, LED and speaker. Connect the battery snap. [showmyads]
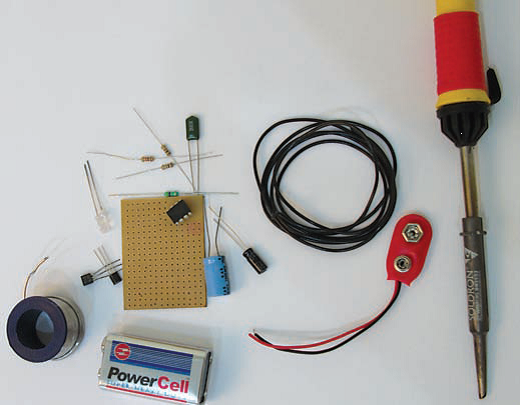
You should now have a working pest repellant. Try it out by switching it on. The LED should turn on indicating a working circuit. And you’re ready to shoo pests away!


Comments (1)